
Solar roof ventilation systems are a sustainable and energy-efficient way to keep your home cool and comfortable while reducing your carbon footprint. By harnessing the power of the sun, these systems can help improve indoor air quality, prevent moisture buildup, and extend the lifespan of your roof. In this ultimate guide, we will walk you through everything you need to know about solar roof ventilation systems.
How Do Solar Roof Ventilation Systems Work?
Solar roof ventilation systems operate by using solar panels to power fans that exhaust hot air from your attic or roof space. As the sun heats up your roof, the air inside the attic also gets warmer. The solar-powered fans kick in to push out this hot air, allowing cooler air to circulate in its place. This process helps regulate the temperature in your attic and prevents heat from building up, which can lower your energy bills and reduce the strain on your air conditioning system.
Benefits of Solar Roof Ventilation Systems
- Reduces energy costs by decreasing the need for air conditioning
- Improves indoor air quality by removing toxins and pollutants
- Extends the lifespan of your roof by preventing moisture buildup
- Environmentally friendly and sustainable way to cool your home
- Increases overall comfort in your living space
Types of Solar Roof Ventilation Systems
There are two main types of solar roof ventilation systems: solar attic fans and solar roof vents. Solar attic fans are installed on the roof and actively draw hot air out of the attic, while solar roof vents are integrated into the roof itself to passively ventilate the attic space. Both types are effective at cooling your home, but the best choice for you will depend on your home's architecture and your specific ventilation needs.
Factors to Consider When Choosing a Solar Roof Ventilation System
- Size of your attic or roof space
- Roof orientation and angle for optimal sun exposure
- Climate and weather conditions in your area
- Budget and cost of installation
- Available incentives or rebates for solar installations
Installation and Maintenance
Installing a solar roof ventilation system is a relatively simple process that can be done by a professional or as a DIY project for those comfortable working on roofs. Here are the basic steps involved in installing a solar roof ventilation system:
- Assess your ventilation needs and choose the right system for your home
- Calculate the number of units needed based on the size of your attic or roof
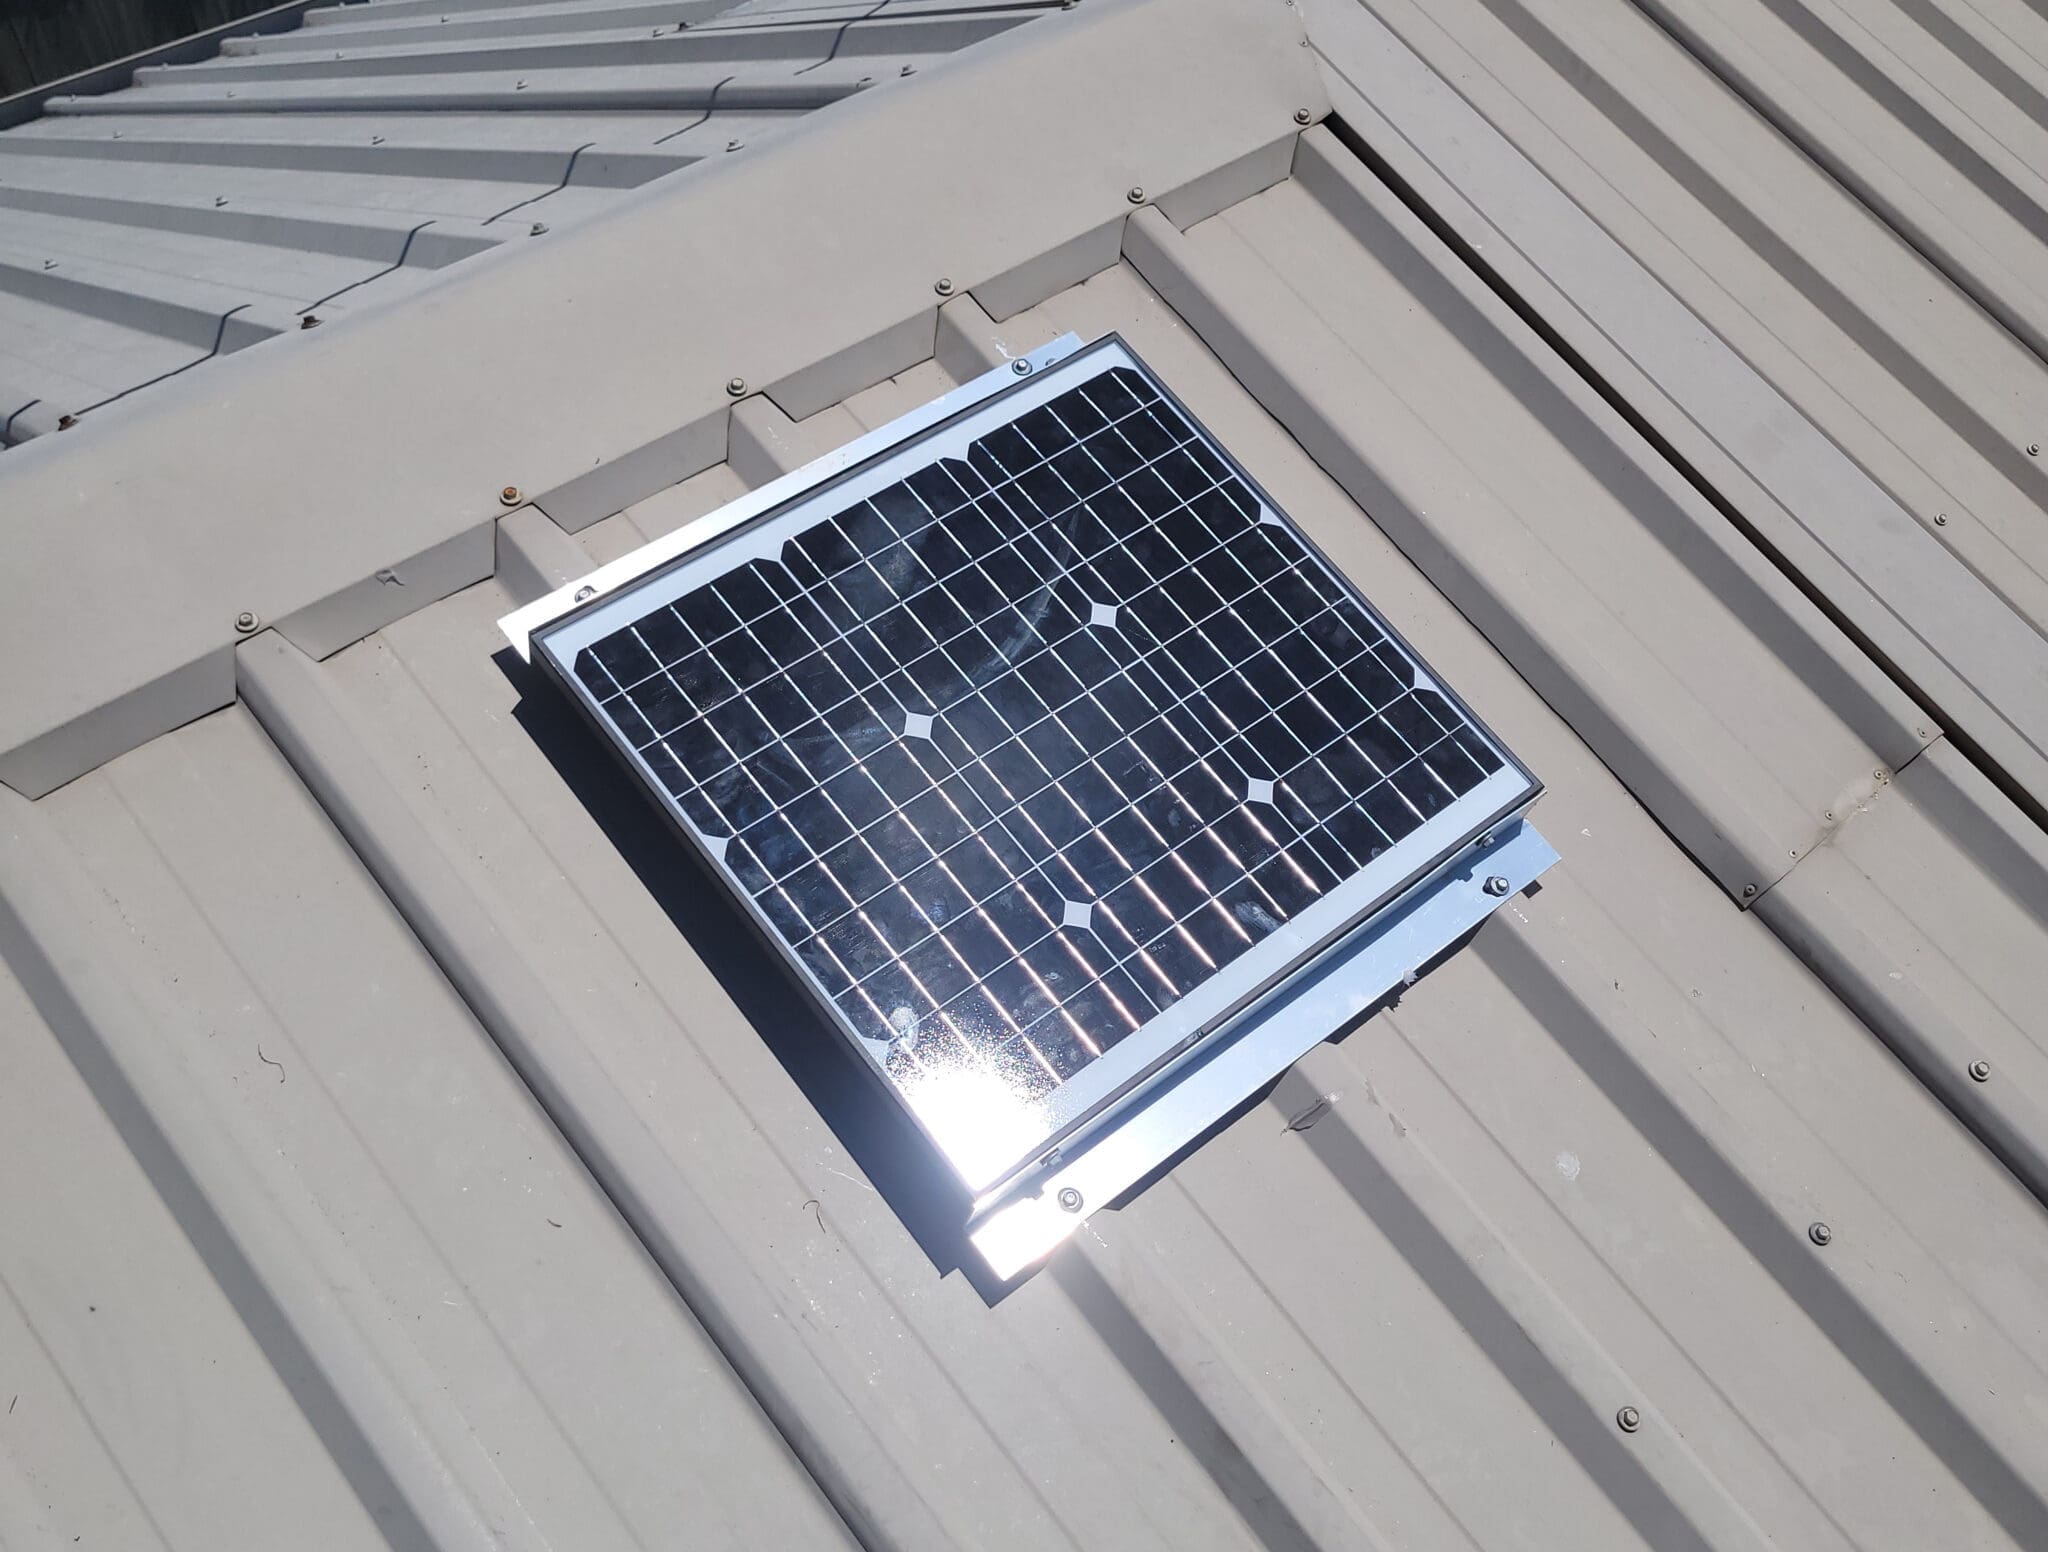
- Install the solar panels on a sunny area of your roof
- Mount the ventilation fans or vents in the appropriate locations
- Connect the system to a power source and test its functionality
Once your solar roof ventilation system is up and running, it requires minimal maintenance to keep it operating efficiently. Regularly clean the solar panels to ensure maximum sun exposure, and check the fans or vents for any debris or obstructions that could hinder airflow. With proper care, your system can last for many years and provide you with a consistent source of energy-efficient cooling for your home.
Conclusion
Solar roof ventilation systems offer a sustainable and cost-effective solution for keeping your home cool and comfortable. By harnessing the power of the sun, these systems can help you reduce your energy bills, improve indoor air quality, and extend the lifespan of your roof. When choosing a solar roof ventilation system, consider factors such as the size of your attic, your roof's orientation, and your budget to find the best option for your home. With proper installation and maintenance, you can enjoy the benefits of a solar roof ventilation system for years to come.